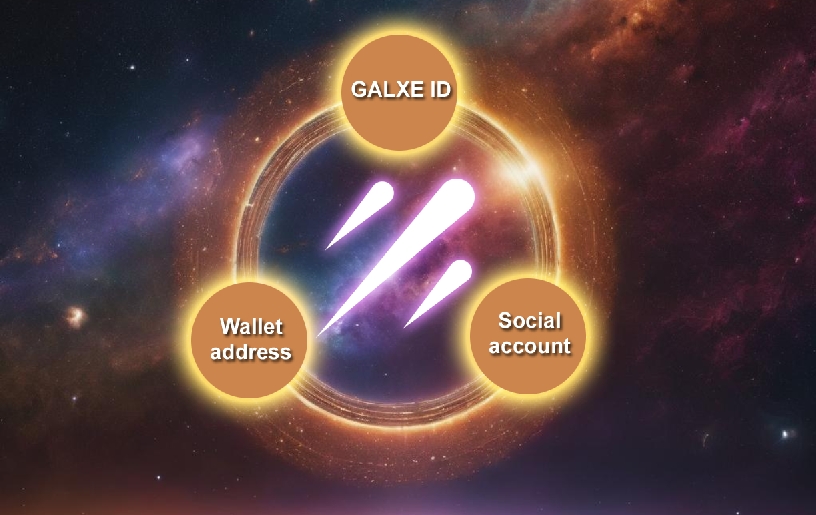
Introduction: Galaxie ID is a powerful and secure platform that allows users to manage their digital assets and interact with various applications within the Ethereum ecosystem. One of the key features of Galaxie ID is the ability to add multiple EVM (Ethereum Virtual Machine) wallets, providing users with enhanced flexibility and control over their funds. In this step-by-step guide, we will walk you through the process of adding a secondary EVM wallet through Galaxie ID, allowing you to effortlessly manage multiple wallets from a single, user-friendly interface.
Step 1: Accessing Galaxie ID: The first step is to access the Galaxie ID platform. Open your preferred web browser and navigate to the Galaxie ID website. If you haven't created an account yet, click on the "Sign Up" button and follow the instructions to create a new account. If you already have an account, simply log in using your credentials.
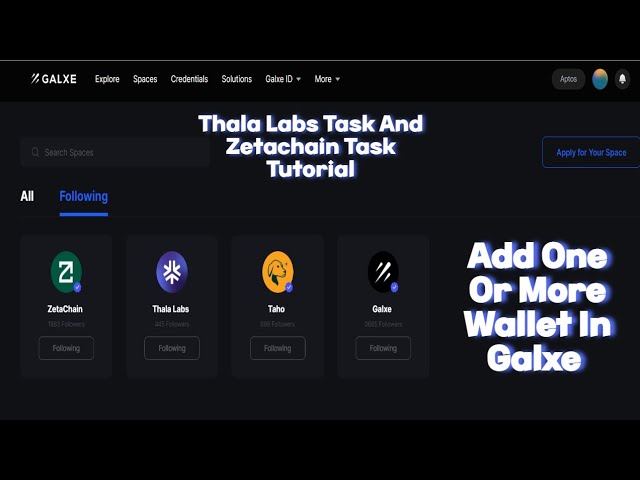
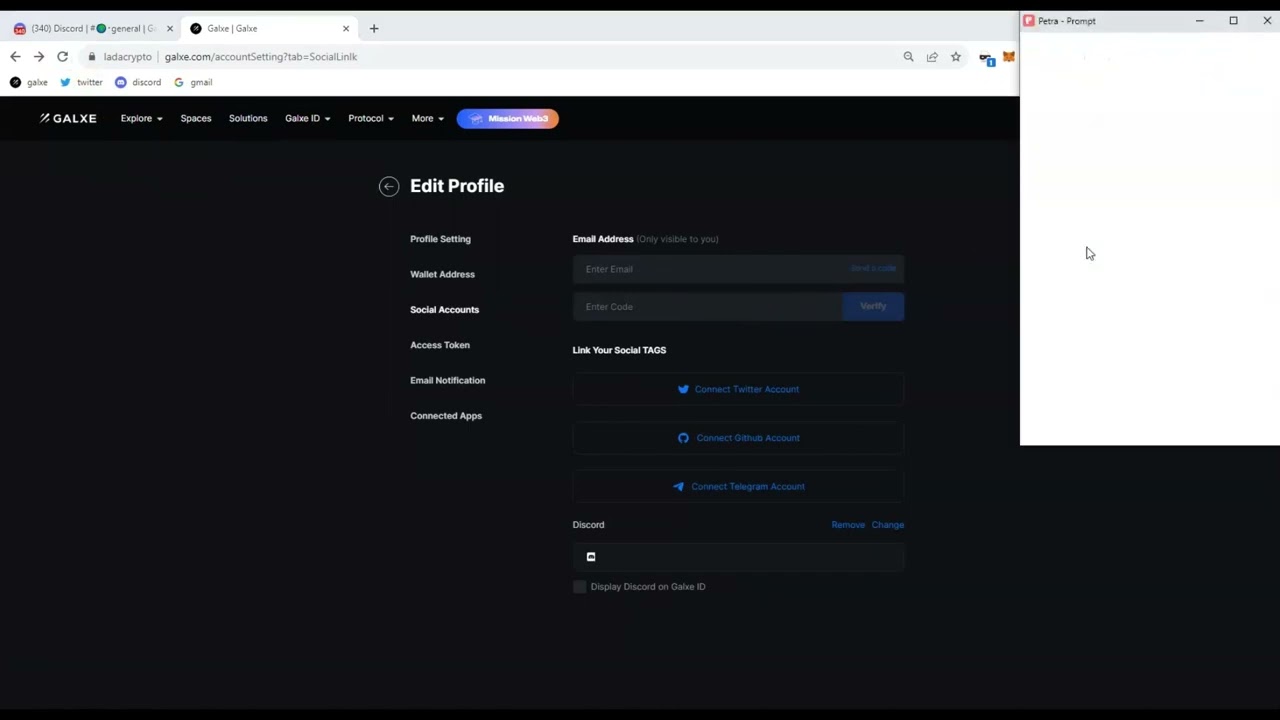
Step 2: Navigating to the Wallet Settings: Once you have successfully logged in, you will be redirected to your Galaxie ID dashboard. To add a secondary EVM wallet, click on the "Settings" tab located at the top right corner of the screen. A drop-down menu will appear, and you should select "Wallets" from the list of options.
Step 3: Adding a Secondary EVM Wallet: In the Wallets section, you will see a list of your existing wallets, along with an option to "Add Wallet." Click on the "Add Wallet" button to initiate the process of adding a secondary EVM wallet. A new window will appear, prompting you to enter the necessary details for your new wallet.
Step 4: Configuring the Secondary EVM Wallet: In the Add Wallet window, you will need to specify the name, network, and private key for your secondary EVM wallet. Choose a unique name for your wallet that will help you easily identify it in the future. Select the appropriate network for your EVM wallet (e.g., Ethereum Mainnet, Rinkeby, or any other supported network). Finally, enter the private key of your wallet, which can be imported or generated through Galaxie ID.
Step 5: Confirming and Saving the Secondary EVM Wallet: After entering all the required details, review the information to ensure its accuracy. Once you are satisfied with the provided information, click on the "Save" button to add the secondary EVM wallet to your Galaxie ID account. You will receive a confirmation message, indicating the successful addition of the wallet.
Conclusion: Adding a secondary EVM wallet through Galaxie ID allows you to manage multiple wallets effortlessly. By following the step-by-step guide outlined above, you can enjoy enhanced control, convenience, and security in managing your digital assets. Start exploring the possibilities of Galaxie ID today and take full advantage of its powerful features.
Step 1: Open the Galxe ID app on your mobile device.
Step 2: Log in to your Galxe ID account using your credentials.
Step 3: Once logged in, navigate to the "Settings" section of the app.
Step 4: In the "Settings" section, look for the option to add a new wallet.
Step 5: Tap on the "Add Wallet" button to proceed.
Step 6: Select the EVM wallet option from the available wallet types.
Step 7: Provide the necessary details for setting up the secondary EVM wallet, such as the wallet name and password.
Step 8: Choose a secure password for your new EVM wallet and confirm it.
Step 9: Review the wallet details and settings before finalizing the setup.
Step 10: Once you are satisfied with the provided information, tap on the "Confirm" button to complete the process.
Step 11: Congratulations! You have successfully added a secondary EVM wallet to your Galxe ID account. You can now use this wallet for Ethereum Virtual Machine transactions and activities.
Note: Make sure to store your wallet password in a secure and confidential place to avoid unauthorized access to your funds.
Welcome to Galxe ID, a secure and convenient way to manage your EVM wallets. Follow these steps to set up your Galxe ID account:
Install the application on your device and open it.
Create a new account by clicking the "Sign Up" button.
Enter your email address and a secure password. Make sure to choose a strong password that includes a combination of letters, numbers, and special characters.
Verify your email address by clicking the link sent to your inbox. This step is necessary to activate your account.
Once your account is activated, log in to the Galxe ID application using your email and password.
After logging in, you will see your primary EVM wallet. To add a secondary wallet, navigate to the settings page.
Click on the "Add Wallet" button and select the type of wallet you want to add.
Follow the instructions provided to import or create a new wallet. Make sure to securely store the wallet seed phrase or keystore file.
After the wallet is successfully added, you can switch between your primary and secondary wallets within the Galxe ID application.
In order to add a secondary EVM wallet through Galxe ID, follow the step-by-step guide below:
To begin, open your web browser and search for the Galxe ID extension. Click on the link that corresponds to your browser (e.g., Chrome, Firefox) and follow the instructions to install the extension.
Once the Galxe ID extension is installed, click on the extension icon in your browser's toolbar. Select the option to create a new account and follow the prompts to set up your Galxe ID account. Make sure to remember your account password as it will be needed for future access.
After creating your Galxe ID account, click on the extension icon again and select "Galxe Wallet Manager" from the dropdown menu. This will open the Galxe Wallet Manager interface.
In the Galxe Wallet Manager interface, click on the "Add Wallet" button. This will prompt you to enter a name for your new wallet. Choose a name that will help you distinguish it from your primary wallet.
Once you have entered a name for your new wallet, click on the "Generate New Address" button. This will create a unique wallet address for your secondary EVM wallet.
After generating the wallet address, make sure to save both the wallet name and wallet address in a secure location. This information will be needed to access your secondary EVM wallet in the future.
Congratulations! You have successfully generated a secondary EVM wallet with Galxe ID. You can now use this wallet to interact with decentralized applications and manage your Ethereum assets.
Once you have successfully added your secondary EVM wallet through Galex ID, you can easily access it for your transactions and other activities.
Here are the steps to access your secondary EVM wallet:
Launch the Galex ID app on your device.
Sign in to your Galex ID account using your registered credentials. If you have multiple accounts, make sure to select the account associated with your secondary EVM wallet.
Once logged in, navigate to the "Wallets" section within the app. You can usually find it in the bottom menu or the sidebar.
In the "Wallets" section, you will see a list of all the wallets associated with your Galex ID account. Locate your secondary EVM wallet from the list and tap on it to select.
After selecting your secondary EVM wallet, you will be able to access it and view your balance, transaction history, and other wallet-related information directly from the Galex ID app.
And that's it! You have successfully accessed your secondary EVM wallet through Galex ID. Now you can conveniently manage and use it for your Ethereum Virtual Machine transactions.
After setting up your primary EVM wallet using Galxe ID, you may want to add a secondary EVM wallet for convenience. The secondary wallet can be easily imported into a wallet manager using the following step-by-step guide:
Launch the wallet manager software or application on your device. This could be a desktop application, a web-based wallet manager, or a mobile wallet app.
Within the wallet manager, look for an option or button that says "Import Wallet" or something similar. Click on it to begin the process of importing a new wallet.
When prompted to choose the type of wallet you want to import, select the option for "EVM Wallet" or "Ethereum Virtual Machine Wallet". This option may vary depending on the wallet manager you are using.
In the input field provided, enter the Galxe ID or address of your secondary EVM wallet. Double-check that the Galxe ID is correct to avoid any import errors.
Depending on the wallet manager you are using, you may need to provide additional authentication to import the secondary wallet. This could involve entering a password, using biometric authentication, or confirming the import via another device.
Once you have successfully authenticated the import, the wallet manager will finalize the process and add the secondary EVM wallet to your wallet manager. You should now be able to view and manage both your primary and secondary wallets in one place.
By following these simple steps, you can easily import your secondary EVM wallet into a wallet manager. This will allow for more convenient management and access to your Ethereum assets.
After successfully adding a secondary EVM wallet through Galxe ID, you may want to know how to send and receive funds using this wallet. Here is a step-by-step guide:
Open your secondary EVM wallet through Galxe ID.
Click on the "Send" button or tab to initiate a transaction.
Enter the recipient's wallet address in the designated field.
Specify the amount of funds you want to send.
Review the transaction details and confirm that everything is correct.
Click on the "Send" or "Confirm" button to proceed with the transaction.
Wait for the transaction to be confirmed on the blockchain. This may take a few minutes depending on network congestion.
Once the transaction is confirmed, the funds will be successfully sent to the recipient's wallet address.
Open your secondary EVM wallet through Galxe ID.
Click on the "Receive" button or tab to generate your wallet address.
Copy the wallet address that is displayed.
Share this wallet address with the person who wants to send you funds.
Wait for the sender to initiate the transaction and specify your wallet address as the recipient.
Once the transaction is sent, you will receive the funds in your secondary EVM wallet.
Remember to always double-check the wallet address when sending or receiving funds to avoid any mistakes. It is also recommended to start with a small amount when testing new transactions.
Once you have successfully added a secondary EVM wallet through Galaxy ID, it is important to manage its security settings to ensure the safety of your funds. Here is a step-by-step guide on how to do it:
Go to the settings section of your Galaxy ID account.
Find the security settings and enable two-factor authentication.
Follow the instructions to set up your preferred method of two-factor authentication, such as using an authenticator app or receiving SMS codes.
In the security settings section, click on the option to change your password.
Choose a strong and unique password that is not easy to guess.
Make sure to include a combination of numbers, letters (both uppercase and lowercase), and special characters.
If your device supports it, you can enable biometric authentication for an extra layer of security.
In the security settings, find the option to enable biometric authentication.
Follow the instructions to set up fingerprint or face recognition.
Keep your secondary EVM wallet software up to date by downloading and installing the latest version.
Regular updates often include security patches and bug fixes that can improve the overall security of your wallet.
Be cautious of phishing attempts, where scammers try to trick you into revealing your wallet credentials.
Always verify the authenticity of websites, links, and emails related to your secondary EVM wallet before entering any sensitive information.
Avoid clicking on suspicious links or downloading files from unknown sources.
By following these steps and being vigilant about security, you can ensure the safety of your secondary EVM wallet and protect your funds from unauthorized access.
What is Galxe ID?
Galxe ID is a decentralized identity management solution that allows users to securely manage and control their digital identities.
Can I add multiple secondary EVM wallets through Galxe ID?
Yes, you can add multiple secondary EVM wallets through Galxe ID. Simply follow the steps mentioned earlier for each additional wallet you want to add.
Is Galxe ID compatible with other blockchain networks besides EVM?
Yes, Galxe ID is compatible with other blockchain networks besides EVM. It supports various blockchain platforms and protocols, allowing you to manage multiple wallets across different networks through a single app.
Can I add a secondary EVM wallet through Galxe ID?
Yes, you can add a secondary EVM wallet through Galxe ID. The process is quite simple and can be done step by step.
2022-2024 @ Step by step guide adding a secondary evm wallet through galxe id
Visit the and download the Galxe ID application.
With Galxe ID, you can easily manage multiple EVM wallets and securely access them through one convenient application. To learn more about Galxe's application modules, visit the .